Hey, are you going to make a project on cardstock? Well, I am also going to create one for beginners. If you are someone who is going to work on glitter cardstock for the first time, then this blog is for you! In this guide, I will provide you with a tutorial on how to cut glitter cardstock on Cricut. Glitter cardstock is the most widely used material for Cricut, and I remember when I made my first project using cardstock. At first, it was a little intimidating, but as I created a few amazing projects, I couldn’t stop myself from trying more.
In this blog, I will be making a cake topper using glitter cardstock. This will help you understand the process of cutting glitter cardstock on the Cricut machine. So, are you ready to delve into this project? Let’s start!
What Materials Do You Need for Your Cricut Project?
I always wanted to make a neon light-up cake topper using my glitter cardstock. This cake topper is going to be unique and special. Below, I am providing you with a few essential supplies needed to make this cake top. So, first, gather these items, and then, in the end, you will learn how to cut glitter cardstock on Cricut.
- Cricut Maker 3
- Engraving Tool for Maker 3
- Deep Point Blade
- Cricut Design Space
- American Crafts Neon Yellow Glitter
- American Crafts Neon Green Glitter
- Astrobrights Martian Green
- Astrobrights Fireball Fuchsia
- Bazzill White
- Miniature Rhinestones
- Cake Stick
- Glue
- Craft Plastic
- Rainbow Holographic Cardstock
- Double Sided Adhesive
- Glow Sticks
Besides these items, you will get a design available on the Cricut Design Space. You can find this design file from Design Space. Access the design and start editing it as per your cake size and other requirements. Once you have edited the design, you can move to the second section, where I am discussing the right tool to cut glitter cardstock.
Which Blade Is Compatible for Glitter Cardstock?
The selection of the right blade should be the first priority before cutting any material on the Cricut. And, of course, we want precise and intricate cuts, so we need to use a deep-point blade.
For beginners, I would say you must practice using it before you work on your final projects. But what if I do not have any option other than the standard blade? Well, in that case, you can do the best Cricut setting for glitter cardstock.
In other words, you can use Multi-Cut Settings, which will allow the machine to do at least two passes using the standard blade. Now, let’s move ahead to cutting glitter cardstock with Cricut.
How to Cut Glitter Cardstock on Cricut?
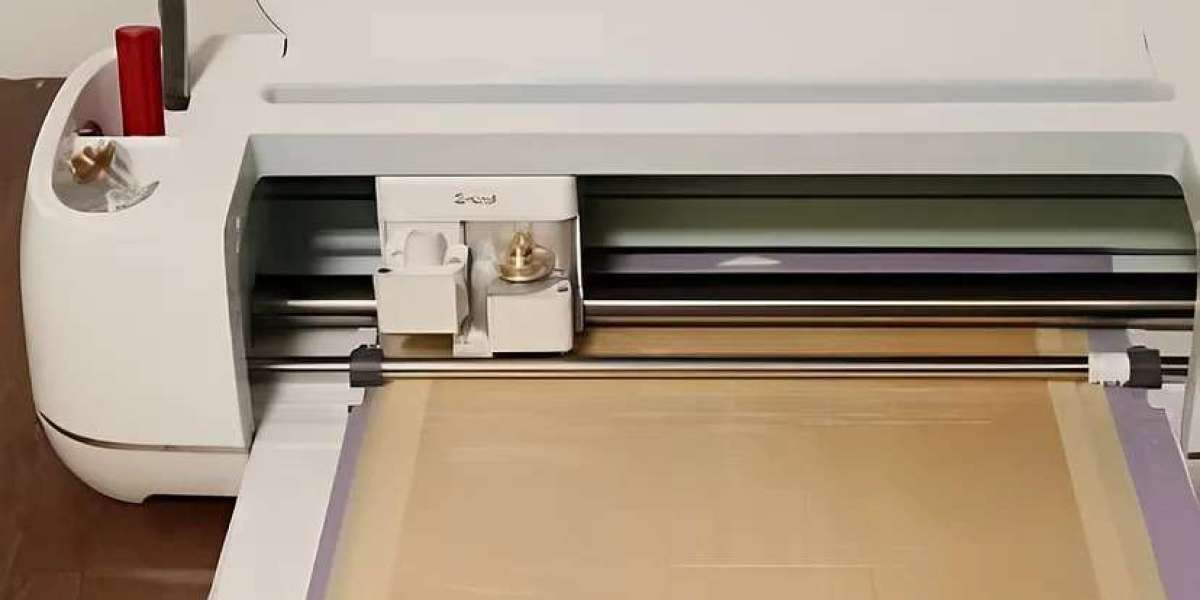
Here, I am going to show you how you can cut glitter cardstock using a deep-point cut blade. Using this blade, you can simply cut everything intricately.
- The first step is to prepare your purple StrongGrip cutting mat.
- On this mat, you need to place your glitter cardstock.

- Next, load the mat into the Cricut Maker 3.
- Then, go to the Design Space and do some basic settings, like choosing the materials and tools that you are going to use in your projects.
- After that, you can click on the Make It button and then press the Go button on your machine.
- Now, your design will be cut, and you can weed them accordingly.
- After weeding, you can assemble each piece using your glue.
- Finally, it will be ready. Here’s the final result!
Now, you have learned how to cut glitter cardstock on Cricut. By now, you must be able to make any type of project using the same glitter cardstock paper.
FAQs
Question 1: Which Cricut blade should I use to cut the glitter cardstock?
Answer: The blade that I use to cut the glitter cardstock paper is the fine-point blade. When I use Cricut Maker, and then the selected materials tell the machine automatically which blade should be used here. However, for regular glitter cardstock, the fine-point blade is considered the perfect choice. In the case of thicker cardstock, you should use a deep-cut blade. Always make sure you are using the right blade and tools in your Cricut machine before cutting.
Question 2: Which Cricut mat should I use with glitter cardstock?
Answer: For this particular material, the most suitable mat will be the purple mat, also known as the Strong Grip mat. The best thing about this mat is that it offers a Strong Grip for heavyweight materials, including thicker cardstock and glitter cardstock. Therefore, it is always good to cross-check before you place your materials onto your mat. Different mats are used for different purposes. Cutting on the wrong mat can tear your material and can also give the worst outcome.
Question 3: Can I cut heavy cardstock on Cricut Joy?
Answer: Absolutely, yes! You can easily cut the heavy cardstock, making it possible to make a wide range of projects such as birthdays, weddings, Christmas cards, and much more. In addition, Joy is capable of cutting 100 lb i.e. 270 gsm of heavy cardstock, without any trouble. Joy can cut this cardstock on Joy. You need to place it on the mat properly. Ensure your mat is in good condition. Besides this, you can add more pressure to the Cricut blade to cut such heavy cardstock.
Final Words
In this blog, we discussed how to cut glitter cardstock on Cricut with the help of a simple cake topper. The different colors of glitter cardstock give it a stunning look. To get such a precise or intricate cut, you need to use the deep-point blade along with Cricut Maker 3. For such a project, where heavy and precise cutting is important, I use Maker 3. Apart from these things, you need to use a purple Strong Grip cutting mat. Plus, you should ensure that your mat has a proper stickiness.
Source: Cut Glitter Cardstock on Cricut


