Introduction
Resin art has taken the world by storm, offering endless possibilities for creativity and customization. Among the various resin art products, resin trays stand out for their functionality and aesthetic appeal. Whether you're looking to create a unique piece for your home or exploring a new hobby, resin trays provide an exciting avenue to express your creativity.
In this blog, we’ll explore everything you need to know about resin trays and resin art trays—from what they are to how to make them, and why they’ve become a favorite among DIY enthusiasts and artists alike.
What is a Resin Tray?
A Resin Tray is a flat, often rectangular or circular, surface that is coated or filled with epoxy resin. Resin trays are not only practical for serving food, drinks, or holding decorative items, but they also serve as a canvas for intricate art. The glossy finish of the resin gives the tray a luxurious feel, while the customization options allow for a truly unique piece.
Understanding Resin Art Trays
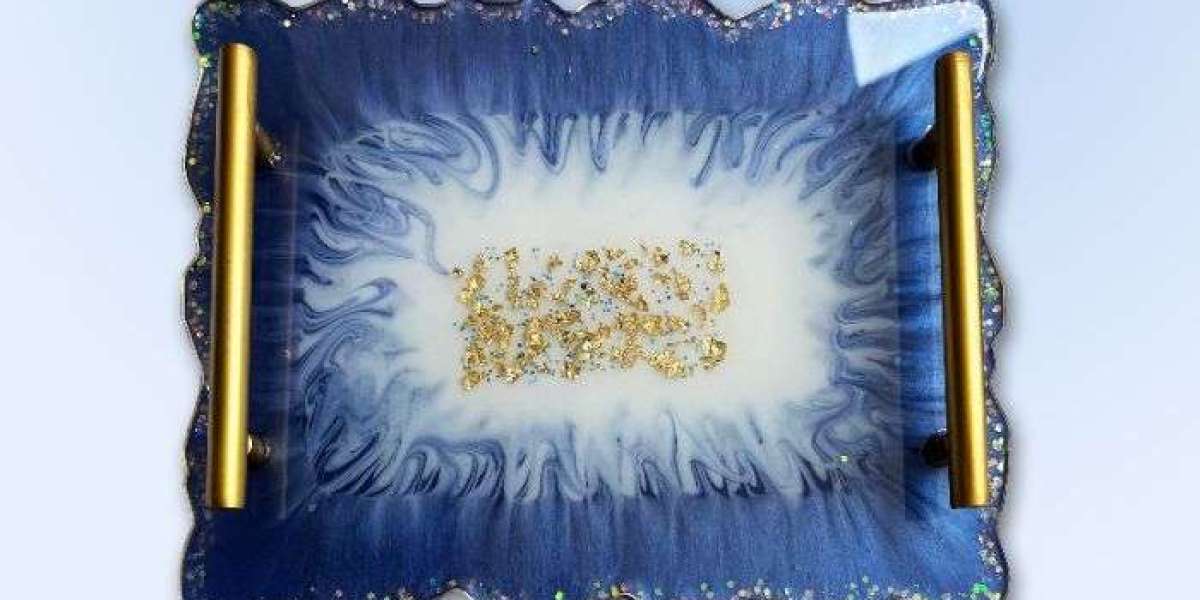
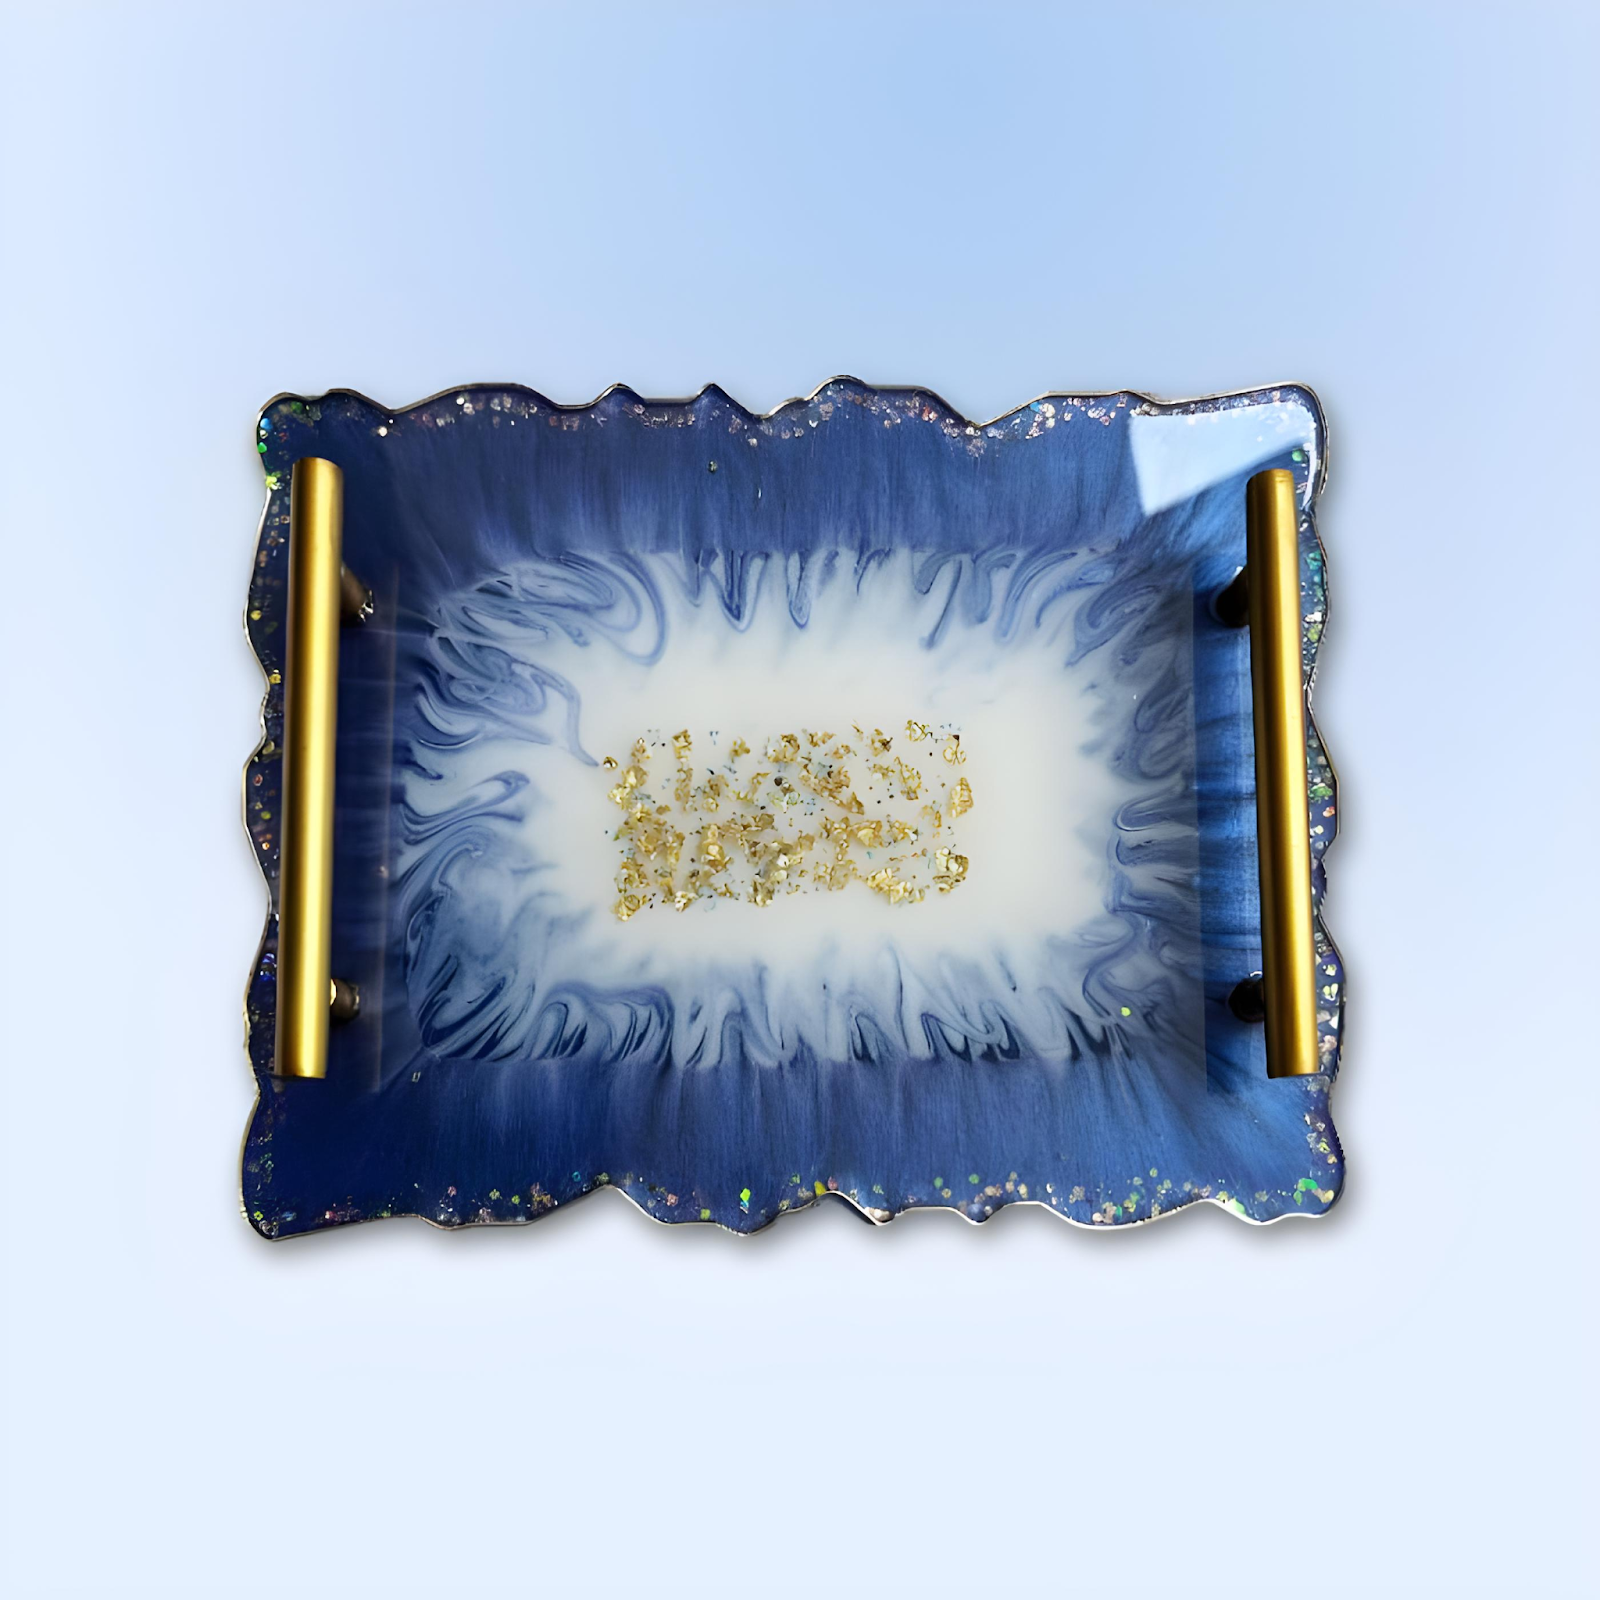
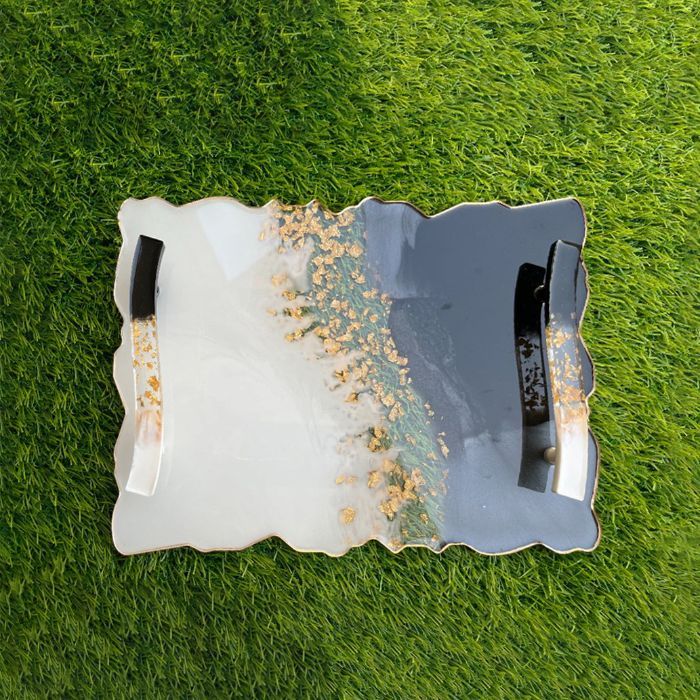
Resin art trays are a specialized form of resin trays where the primary focus is on the artistic element. These trays are often decorated with various materials such as pigments, alcohol inks, glitter, dried flowers, or even small trinkets. The resin seals these elements, creating a durable and stunning piece of art that is also functional.
Materials Needed for Making a Resin Tray
Before diving into the process of making a resin tray, it’s essential to gather all the necessary materials:
Epoxy Resin: The primary material used to create the tray's surface.
Mold: Available in various shapes and sizes; the mold will determine the tray's form.
Mixing Cups and Sticks: For measuring and mixing the resin and hardener.
Protective Gear: Gloves, mask, and apron to protect yourself from the resin.
Pigments and Dyes: To add color to the resin.
Decorative Elements: Such as glitter, gold flakes, or dried flowers.
Heat Gun: To remove bubbles from the resin.
Level Surface: Ensure your tray cures on a flat, level surface to avoid unevenness.
Step-by-Step Guide to Making a Resin Art Tray
Prepare Your Workspace: Lay down protective sheets and ensure your workspace is well-ventilated. Gather all your materials before starting.
Mix the Resin and Hardener: Follow the instructions on your resin kit. Typically, this involves mixing equal parts of resin and hardener in a mixing cup. Stir slowly to avoid creating bubbles.
Add Pigments or Dyes: Once your resin is mixed, add pigments or dyes to create your desired color. You can also divide the resin into multiple cups to create different colors for a more intricate design.
Pour the Resin into the Mold: Slowly pour the resin into your mold. If you’re using multiple colors, you can create swirls, patterns, or even a marble effect by pouring the different colors in strategic areas.
Add Decorative Elements: Place any decorative items like gold flakes, glitter, or dried flowers into the resin. You can use a stick to position them exactly where you want.
Remove Air Bubbles: Use a heat gun or torch to eliminate any air bubbles that may have formed on the surface of the resin.
Allow the Resin to Cure: Place the mold on a flat, level surface and let it cure according to the manufacturer’s instructions. This can take anywhere from 24 to 48 hours.
Demold the Tray: Once the resin is fully cured, carefully remove it from the mold. If the edges are sharp, you can sand them down for a smooth finish.
Optional: Add Handles: For added functionality, consider attaching handles to your tray. Use a strong adhesive suitable for resin.
Why Choose Resin Trays?
Resin trays are not just another decorative item; they are a blend of functionality and art. Here’s why resin trays have become increasingly popular:
Customizable: Resin trays can be personalized to match your home decor or serve as a unique gift.
Durability: The hardened resin creates a sturdy and long-lasting product.
Versatility: Use them as serving trays, decorative pieces, or even as vanity trays for your accessories.
Aesthetic Appeal: The glossy, glass-like finish adds a touch of luxury to any space.
Resin Tray Design Ideas
If you’re looking for inspiration, here are some popular resin tray designs:
Geode-Inspired Trays: Mimic the natural beauty of geodes by using pigments and glitter to create a crystalline effect.
Ocean-Themed Trays: Use blue pigments, white resin, and sand to create a beach-inspired tray.
Floral Trays: Incorporate dried flowers into the resin for a delicate and feminine touch.
Metallic Accents: Add gold or silver leaf to create a luxurious, metallic sheen.

Caring for Your Resin Art Tray
To ensure your resin tray remains in pristine condition, follow these care tips:
Avoid Direct Heat: Resin can soften under high temperatures, so avoid placing hot items directly on the tray.
Clean with Care: Use a soft cloth and mild soap to clean the tray. Avoid abrasive cleaners that could scratch the surface.
Store Properly: When not in use, store your tray in a cool, dry place away from direct sunlight to prevent yellowing.
Conclusion
Resin trays and resin art trays offer a fantastic way to combine creativity with functionality. Whether you’re a seasoned artist or a beginner looking for a new hobby, making resin trays can be a fulfilling and enjoyable experience. With the right materials, a bit of patience, and a dash of creativity, you can create stunning trays that are sure to impress.