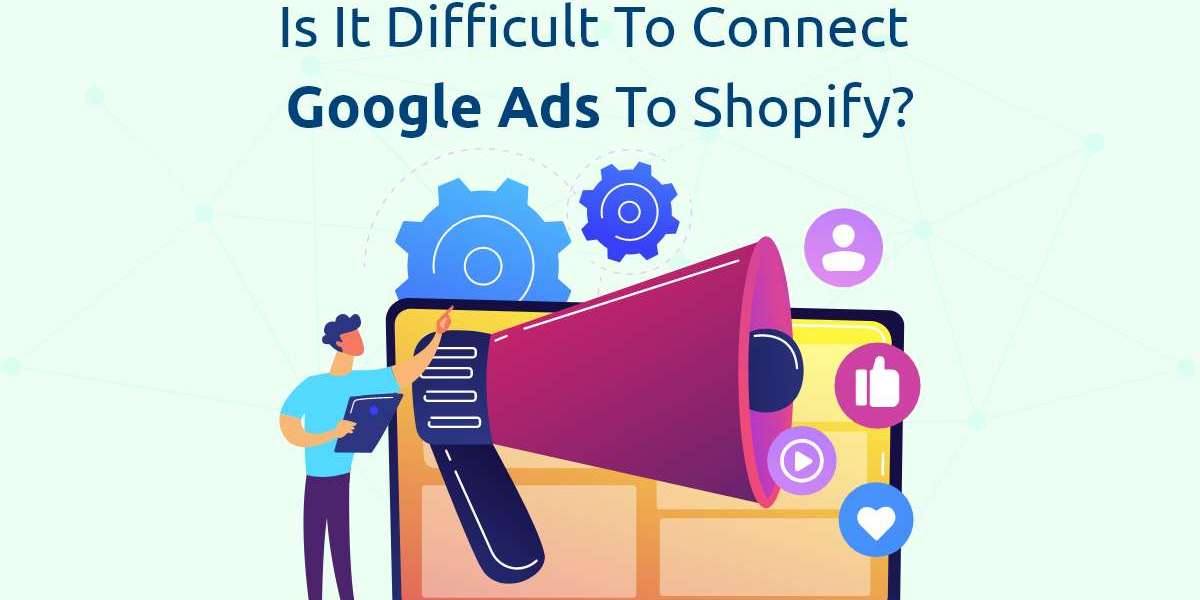
Connecting Google Ads to Shopify can significantly boost your e-commerce business by enhancing your advertising efforts, improving targeting, and tracking performance. While it might seem challenging at first, the process is generally straightforward and manageable even for those with limited technical expertise. This article explores the steps involved in connecting Google Ads to Shopify and provides insights into whether it is a difficult task.
Understanding the Integration
Before diving into the steps, it’s important to understand why integrating Google Ads with Shopify is valuable. Google Ads allows you to create targeted ad campaigns that appear in Google search results and on various websites, while Shopify provides a robust platform for managing your online store. By connecting these two platforms, you can track how effectively your ads drive traffic and conversions, and use this data to optimize your campaigns.
Step 1: Setting Up Your Google Ads Account
The first step is to create a Google Ads account if you don’t already have one. This process is relatively simple and involves visiting the Google Ads website and signing up. You’ll need to provide some basic information about your business, such as your name, website, and billing details.
Once your account is created, you’ll be introduced to the Google Ads dashboard, where you can create and manage campaigns. Familiarize yourself with the interface, as it will be crucial for configuring and monitoring your advertising efforts.
Step 2: Creating Conversion Tracking
Conversion tracking is essential for measuring the success of your ads. It helps you monitor specific actions taken on your Shopify store, such as completed purchases or sign-ups. Setting up conversion tracking involves creating a conversion action in Google Ads and adding a tracking tag to your Shopify store.
In Google Ads, navigate to the "Tools & Settings" menu, then select "Conversions" under the "Measurement" section. Click the "+ New Conversion Action" button to create a new conversion action, and follow the prompts to define what you want to track. Google Ads will generate a conversion tracking tag, which is a piece of code you need to add to your Shopify store.
Step 3: Adding the Tracking Tag to Shopify
Adding the conversion tracking tag to Shopify might sound complex, but it’s a straightforward process. Here’s how you can do it:
Log In to Shopify: Access your Shopify admin panel and go to "Online Store" > "Themes."
Edit Theme Code: Click "Actions" next to your current theme and select "Edit Code."
Locate the Theme.liquid File: In the code editor, find the "theme.liquid" file under the "Layout" folder and open it.
Insert the Tracking Tag: Paste the Google Ads conversion tracking tag just before the closing </head> tag. This ensures the tag is included on every page of your store.
Save Changes: Click "Save" to apply the tracking tag.
This process involves copying and pasting code, which might seem technical but is manageable with careful attention to detail. Shopify’s interface is user-friendly, making it easier to handle this task even if you’re not a coding expert.
Step 4: Linking Google Ads with Google Analytics
Linking Google Ads with Google Analytics provides more in-depth insights into your store’s performance. If you don’t already have Google Analytics set up, create an account and configure it for your Shopify store. Once you have Google Analytics in place, you can link it to Google Ads.
In Google Ads, go to "Tools & Settings" and select "Linked accounts" under the "Setup" section. Choose "Google Analytics" and follow the prompts to complete the linking process. This integration allows you to track user behavior and analyze how well your ads are performing in driving traffic and conversions.
Step 5: Creating and Managing Campaigns
With Google Ads and Shopify connected, you can create and manage ad campaigns directly from the Google Ads dashboard. Start by setting up a new campaign, defining your goals, and choosing the appropriate campaign type. Configure your targeting options, set your budget, and create compelling ad copy.
Monitor your campaigns’ performance regularly, and use the data to make informed adjustments. Analyzing metrics such as click-through rates (CTR) and conversion rates will help you optimize your ads and improve their effectiveness.
Conclusion
Connecting Google Ads to Shopify is a manageable task that offers significant benefits for your e-commerce business. While the process involves several steps, such as setting up conversion tracking, adding code to your Shopify store, and linking with Google Analytics, each step is straightforward with the right guidance. Shopify’s user-friendly interface and detailed instructions make it easier to integrate with Google Ads, even for those with limited technical expertise. By successfully connecting these platforms, you can enhance your advertising efforts, track performance accurately, and ultimately drive more traffic and sales to your Shopify store.