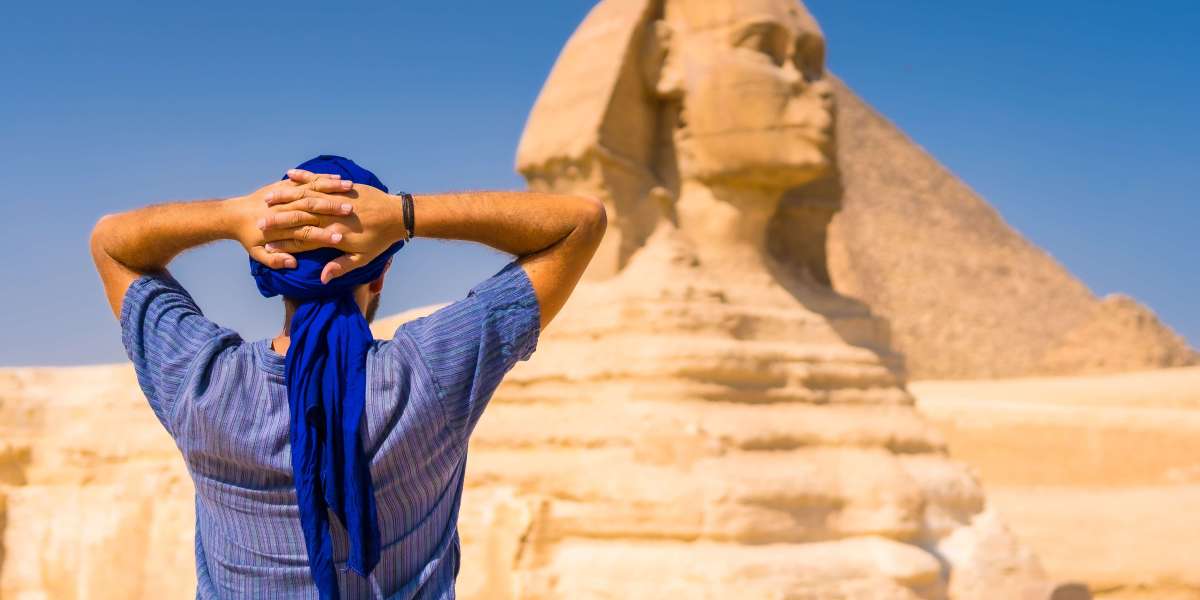
In the realm of photography, capturing the grandeur of a landscape in a single frame can be challenging. However, panoramic photography offers a solution, allowing photographers to stitch multiple images together to create a sweeping vista. One essential tool for achieving this is the Ulanzi tripod. This article delves into the nuances of Mastering the Art of Panoramic Photography with Ulanzi Tripod, providing insights and tips to elevate your photographic endeavors.
Understanding Panoramic Photography
Panoramic photography involves taking a series of photographs and merging them to form a single, wide-angle image. This technique is particularly useful for capturing expansive landscapes, cityscapes, and architectural marvels. The key to a successful panorama lies in maintaining consistent exposure, focus, and alignment across all shots.
The Role of a Tripod in Panoramic Photography
A tripod is indispensable for panoramic photography. It ensures stability, minimizes camera shake, and maintains a consistent horizon line. The Ulanzi tripod, known for its robustness and versatility, is an excellent choice for this purpose. Its adjustable legs and 360-degree rotating head allow photographers to capture seamless panoramas with ease.
Setting Up Your Ulanzi Tripod for Panoramas
Proper setup is crucial for Mastering the Art of Panoramic Photography with Ulanzi Tripod. Begin by finding a level surface to place your tripod. Extend the legs evenly and use the built-in spirit level to ensure the tripod is perfectly horizontal. Attach your camera securely and adjust the head to the desired starting position.
Next, set your camera to manual mode to lock in exposure and focus settings. This prevents variations between shots that could complicate the stitching process. Use a remote shutter release or the camera’s timer function to avoid any movement when taking the photos.
Techniques for Capturing Panoramic Shots
When capturing a panorama, overlap each shot by about 20-30%. This overlap provides the necessary data for stitching software to blend the images seamlessly. Start from one end of the scene and move the camera horizontally, taking a series of shots until you reach the other end.
For vertical panoramas, the same principles apply. Begin at the bottom of the scene and move the camera upwards, ensuring consistent overlap. The Ulanzi tripod’s adjustable head makes it easy to switch between horizontal and vertical orientations.
Post-Processing Your Panoramic Images
After capturing your images, the next step in Mastering the Art of Panoramic Photography with Ulanzi Tripod is post-processing. Use photo editing software to stitch the images together. Most software offers automated stitching, but manual adjustments may be necessary for perfect alignment.
Once stitched, you can enhance the panorama by adjusting brightness, contrast, and color balance. Cropping the image to remove any unwanted edges will give your panorama a polished, professional look.
Tips for Achieving Stunning Panoramas
To truly excel in panoramic photography, consider these additional tips:
- Scout Locations: Visit potential sites beforehand to identify the best vantage points and lighting conditions.
- Use a Panoramic Head: A specialized panoramic head can further improve alignment and reduce parallax errors.
- Experiment with Different Times of Day: Lighting can dramatically affect the mood and quality of your panorama. Golden hour and blue hour are particularly favorable.
By following these guidelines and utilizing the Ulanzi tripod, you can master the art of panoramic photography. Whether you’re capturing the vastness of a mountain range or the intricate details of a city skyline, the right equipment and techniques will ensure your panoramas are both breathtaking and professional.
In conclusion, Mastering the Art of Panoramic Photography with Ulanzi Tripod requires a blend of technical knowledge, practical skills, and creative vision. With practice and patience, you can create stunning panoramic images that captivate and inspire.


