Hey guys! Do you want to know how to make a banner using Cricut? Don’t think that it is the toughest task that takes a lot of time. I am going to make it easy for you. Through this blog, you will learn step-by-step methods of creating banners.
I made a birthday banner with Cricut and wanted to elevate my cousin’s birthday. For this, I used some materials which I am going to discuss in this blog. You can go through them to find the tools and supplies you need. In addition, you have to decide what you want to create and what kind of design you want. After that, you can start making your design on Cricut Design Space accordingly.
Let’s get started creating a Cricut banner to elevate your special occasions, like birthdays, anniversaries, and other festive seasons.
Step 1: Gather Tools and Materials
So, are you ready to learn how to make a banner using Cricut? If so, let’s gather the materials and then proceed to make this beautiful birthday banner with Cricut. Here is the list of materials that I used to make this birthday banner on my cousin’s birthday:
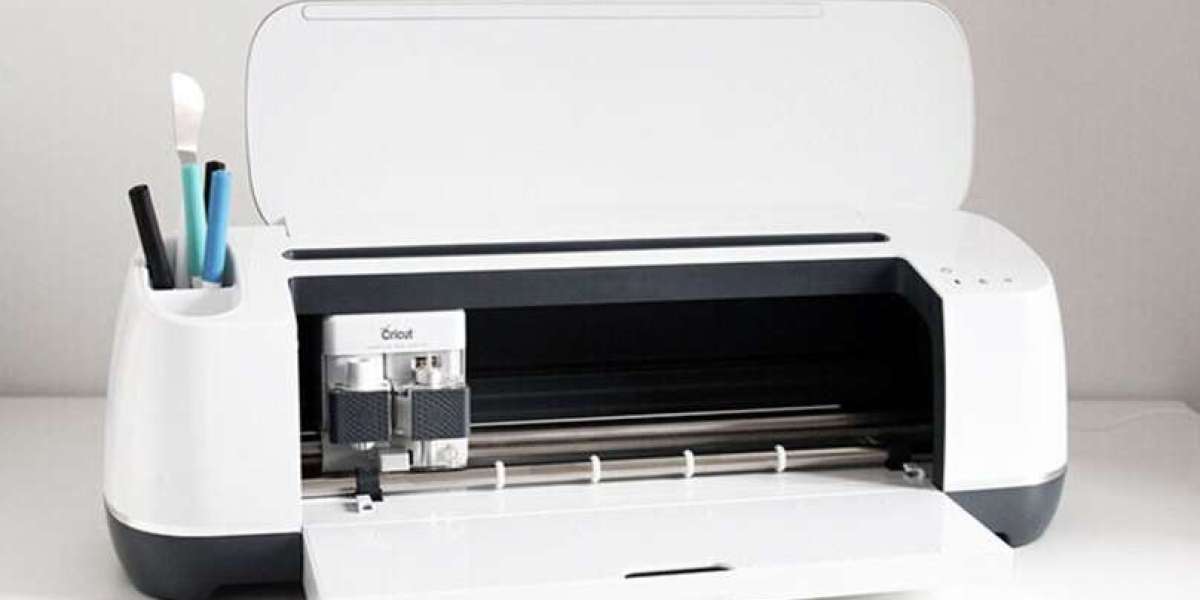
- Cricut Maker
- Knife Blade
- Strong Grip Mat
- Chipboard
- Permanent Vinyl
- Scissors
- Scraper Tool
- Masking Tape or Painter’s Tape
Now that we have gathered the necessary material let’s move on to the next step: creating a design. Go to the Cricut Design Space and create or upload the banner design. After this, you have to follow the second step, which is applying the permanent vinyl to the chipboard. Be ready with your vinyl, and let’s get into it.
Step 2: Applying Vinyl
I was worried about the difficulty and time-consuming process of painting chipboard, so I decided to cover my banner in vinyl instead. I am also concerned about whether the color will match or not if I apply it after cutting the chipboard.
Therefore, I applied permanent vinyl to the chipboard before I cut the words. You should also use the scraper tool to remove the air bubbles from the materials. You can also remove the excess vinyl using your scissors.
Okay, so we have applied the vinyl on the chipboard; let’s insert our Cricut mat into the machine.
Step 3: Insert the Cricut Mat
Once you have applied the vinyl to the mat, you need to insert it carefully into your Cricut machine. Here, I am using a Strong Grip mat.
You will also need painter’s tape to secure the chipboard on the mat. Apply the tape all around the corner. In simpler terms, you will need to keep the chipboard from shifting from the mat.
Let’s start cutting now!
Step 4: Start Cutting Your Design
Now, it is time to reach the point where you will finally learn how to make a banner using Cricut. To do this, you have to navigate to your Cricut Design Space and click the Continue button. But do you know which blade you have to install in your Cricut? It is your knife blade. It works amazingly.
But there is only one thing that I don’t like about this blade, which is that it cuts but consumes so much of my time. Each letter takes me 20 minutes. Now, imagine what the time will be for those thirteen letters. OMG?!
Now, let the Cricut cut your birthday banner. Since then, you can turn off your sleep so that it doesn’t interrupt your cutting.
Finally, the complete guide on how to make a banner using Cricut ends here. I wish you the very best if this is your first move! Make sure you have the right tool and design to support your project.
So, whether you want to make a banner for your birthday or anniversary, this easy-to-follow guide will help you quickly create one.
FAQs
Question 1: Which Cricut machine is the best for creating a banner?
Answer: In my opinion, all Cricut machine models are capable of making a great-quality banner. They all cut different types of materials. However, the ability to cut a large number of materials varies between different Cricut models. In short, the Cricut Explore, Maker, and Joy series are the best options for your banner. Look at your budget and find the machine that suits you the best.
Question 2: Can I draw an image on Cricut?
Answer: Yes, you can draw anything using your Cricut machine, and it is easy to do when you want a simple image. For images, you can go to your Cricut Design Space; there, you will find thousands of images for free. This is the best feature I like about Cricut. So, get your materials ready and place them on a Cricut mat to create the design.
Question 3: Which materials should I use for making banners with Cricut?
Answer: Vinyl could be the best material for making banners with Cricut. Vinyl is the best choice for indoor and outdoor use, and it is waterproof. Its fade-resistant features allow it to last longer. Also, it is durable and budget-friendly, so you can use it to make banners.
Final Words
So, it doesn’t matter whether you want a banner for your birthday or anniversary; this easy-to-follow guide is helpful for everyone. The guide focuses especially on how to make a banner using Cricut. First, gather the materials that I have mentioned in this blog and start cutting and creating your design. You will be done within a couple of hours. Simply, everyone can make it themselves.
Source: how to make a banner using Cricut?
Visit here For more Information: Cricut.com/setup


